Blog
How to Install Car LED Lights: A Step by Step Guide to Upgrading Your Vehicle’s Lighting
Installing LED lights in your car is a popular upgrade that enhances both style and visibility. LED lights are energy-efficient, long-lasting, and available in various colors, making them a great option for car enthusiasts looking to personalize their vehicle. In this guide, we’ll take you through the steps on how to install car LED lights, helping you achieve a sleek, modern look for your car.
Why Choose LED Lights for Your Car?
LED lights offer several advantages over traditional halogen bulbs. First, they’re brighter and consume less power, which reduces the strain on your car’s battery. LEDs also have a longer lifespan, meaning you won’t have to replace them as often. In addition, LED lights are available in multiple colors and styles, allowing you to customize your car’s interior and exterior lighting to match your personal taste.
Now, let’s look at how to install car LED lights safely and effectively.
Types of Car LED Lights
Before starting the installation, it’s helpful to know the types of LED lights available for cars. Common options include:
- LED Headlights: Replace your traditional headlights with brighter, energy-efficient LED headlights for better visibility.
- Interior LED Lights: Enhance your car’s cabin with LED lights under the dashboard, seats, or doors.
- LED Strip Lights: Flexible strips that can be installed inside or outside the vehicle for a custom look.
- Fog Lights: LED fog lights provide better illumination in poor weather conditions.
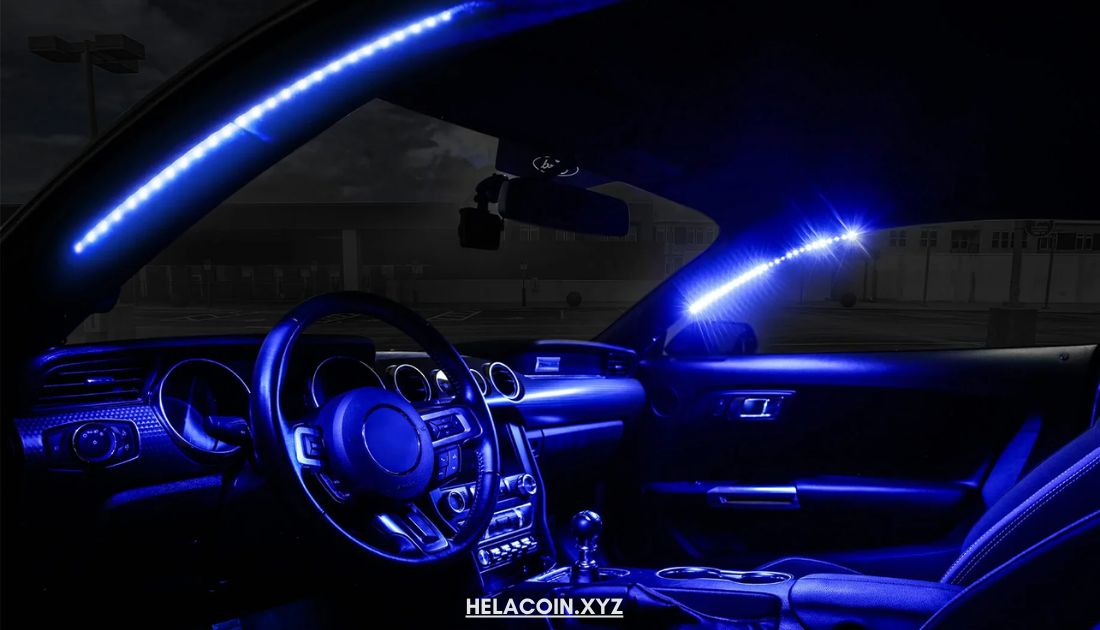
For this guide, we’ll focus on installing LED strip lights inside your car, as this is one of the most popular and straightforward upgrades.
Tools and Materials Needed
To install car LED lights, you’ll need the following items:
- LED light strips (specific to your vehicle model)
- Double-sided adhesive tape or mounting clips (if not included with the lights)
- Electrical tape
- Wire strippers
- A fuse tap (optional, for connecting to the fuse box)
- Zip ties (for securing wires)
- A screwdriver (if needed for panel removal)

Now that you have your tools and materials ready, let’s get started with the installation process.
Step 1: Plan the Installation
Before installing the LED lights, decide where you want them to go. For interior LED strips, popular locations include under the dashboard, along the door sills, or beneath the seats. Planning the layout in advance will make the installation smoother and help you achieve a balanced, professional look.
When positioning the lights, keep in mind that some LED strips are waterproof and can be installed outside, while others are meant for interior use only.
Step 2: Disconnect the Car Battery
Safety is crucial when working with electrical components. Start by disconnecting your car’s battery to avoid any risk of electric shock. To do this, locate the negative terminal on the battery and use a wrench to loosen the nut. Once loosened, remove the cable from the terminal and set it aside.
Disconnecting the battery will also help prevent any accidental short circuits while you’re working with wiring.
Step 3: Mount the LED Light Strips
Using double-sided adhesive tape or mounting clips, attach the LED light strips to your chosen locations. Ensure the surface is clean and dry for the best adhesion. If necessary, you can use rubbing alcohol to wipe down the area before applying the adhesive.
Press the light strips firmly to secure them in place. For a cleaner look, try to hide the strips in recessed areas where the light will shine out without exposing the strip itself.
Step 4: Route the Wiring
After securing the LED strips, route the wiring carefully to keep it hidden and out of the way. Run the wires along the edge of the floor panels or tuck them under the dashboard, using zip ties to hold them in place. This step is important for maintaining a tidy installation and preventing any wires from becoming loose or tangled.
If you’re installing multiple light strips, connect each one to the power source according to the manufacturer’s instructions. Be sure to follow the wiring diagram that comes with the LED kit.
Step 5: Connect to a Power Source
Now it’s time to connect the LED lights to a power source. Most LED light kits include options for wiring to the car’s fuse box or directly to the battery. Here are the most common methods:
Using a Fuse Tap
A fuse tap allows you to connect the LED lights to an existing fuse in your car’s fuse box. Locate the fuse box, and identify a fuse that provides power when the car is on, such as the radio or ignition fuse. Replace this fuse with the fuse tap, which allows you to draw power for your LED lights without affecting the original circuit.
Insert the fuse tap, connect the LED light’s positive wire to the tap, and secure the connection with electrical tape.
Connecting Directly to the Battery
Alternatively, you can connect the LED lights directly to the car battery. Connect the positive wire from the LED lights to the positive terminal of the battery, and the negative wire to the negative terminal. Use electrical tape to secure the connections.
For interior LED lights, some kits include a cigarette lighter adapter, which allows you to plug the lights into the cigarette lighter socket instead of hardwiring.
Step 6: Test the Lights
With the connections complete, reconnect the car battery by reattaching the negative cable to the terminal. Once the battery is reconnected, turn on the car and test the LED lights to ensure they’re working properly. If the lights don’t turn on, double-check your wiring and connections to make sure everything is secure.
Testing the lights at this stage allows you to troubleshoot any issues before finalizing the installation.
Step 7: Secure and Conceal the Wiring
Once you’re satisfied with the placement and function of the lights, take a few minutes to tidy up the wiring. Use zip ties to secure any loose wires, and conceal them under panels or trim for a professional finish. This step helps keep your installation neat and prevents wires from moving around while driving.
Optional: Install a Switch
For added control, you can install an on/off switch for your LED lights. This allows you to easily turn the lights on or off without removing any connections. Some LED kits come with a switch included, while others may require a separate purchase.
Final Thoughts: Enjoy Your New LED Lights
Installing LED lights in your car is a straightforward process that brings a modern, personalized look to your vehicle. With just a few tools and careful planning, you can achieve a professional installation that adds both style and functionality. Not only do LED lights enhance visibility, but they also allow you to customize your car’s interior or exterior to reflect your unique taste.
By following these steps, you’ll be able to install car LED lights safely and efficiently. Enjoy the new look and make every drive a brighter, more stylish experience.

